How to water bath can
The whole method, in order, with the four moments that decide whether your jars seal.
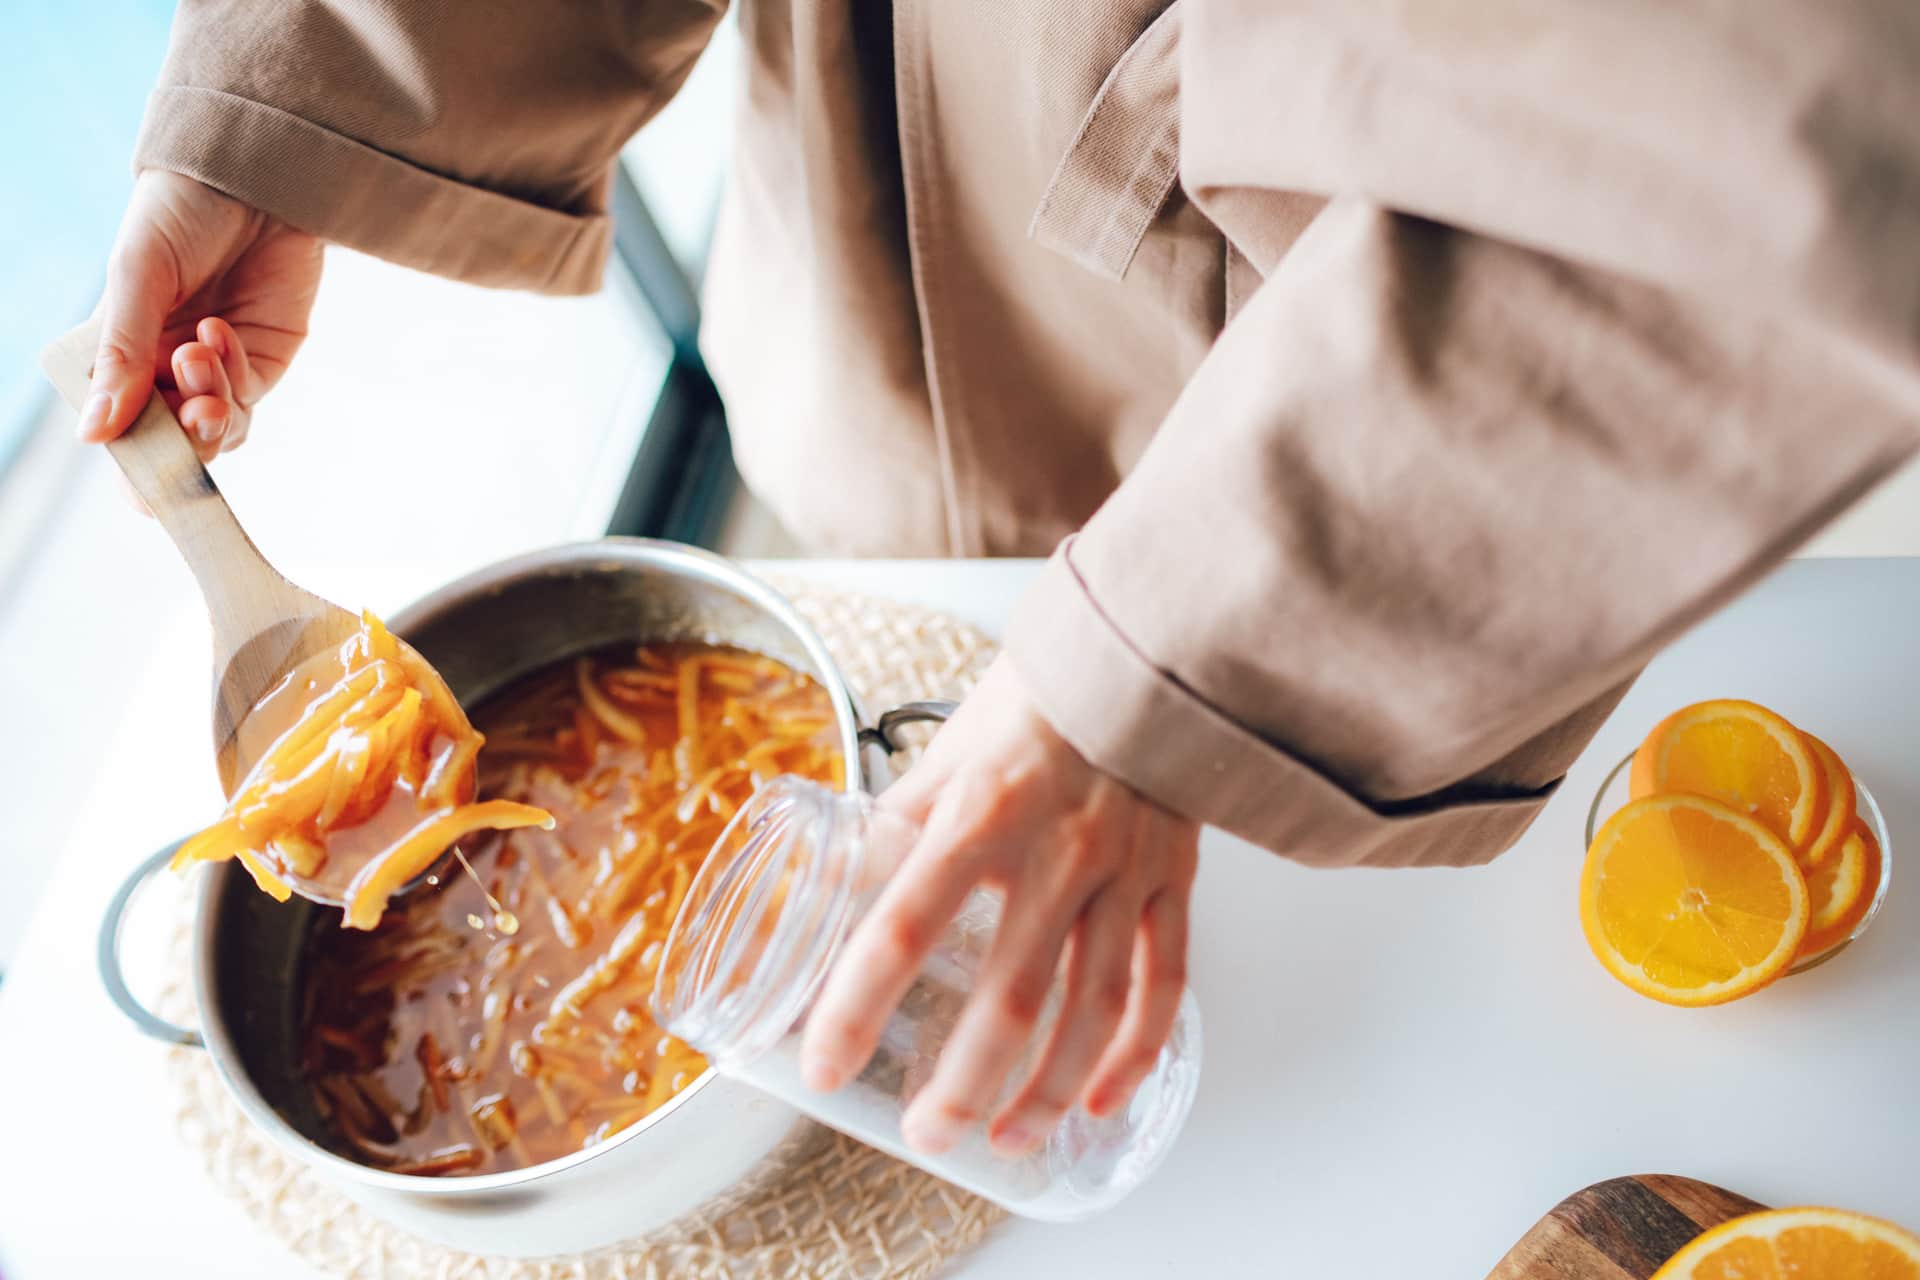
To water bath can: heat the canner, keep the jars hot, fill them to the headspace the recipe specifies, wipe the rims, seat new lids and fingertip-tighten the bands, lower the jars into water that covers them by an inch, and start timing only once the water returns to a full rolling boil.
The steps below are the standard method. They are not our invention and they should not vary from the ones in a tested recipe book — where they differ, the recipe wins, because the recipe is the tested process and this is the surrounding technique.
Before you start
- Confirm your food is high-acid, or acidified per a tested recipe. If it is low-acid, stop — see what foods need pressure canning.
- Look up your altitude adjustment. Above 1,000 feet the processing time increases and it is part of the tested process, not an optional refinement. See altitude adjustment.
- Check your jars for chips or cracks, especially on the sealing rim. A chipped rim will not seal.
- Get new flat lids out. Bands and jars are reusable; flat lids are not.
The method
- 1Fill the canner about halfway and start it heating, lid on. It takes far longer than you expect and everything else waits on it.
- 2Wash the jars in hot soapy water and keep them hot. In the dishwasher on a heated cycle, or standing in the canner water. Filling a cold jar with hot food can crack it. If your processing time is under 10 minutes, the jars must also be sterilized first — see how to sterilize canning jars.
- 3Make the recipe exactly as written. Do not thicken it, do not reduce the vinegar or lemon juice, do not scale the acid, do not add extra low-acid vegetables.
- 4Fill the jars through a funnel to the headspace the recipe specifies. Headspace is the gap between the food and the rim, and the number is part of the tested process: too little and the jar vents food and fails to seal, too much and air is left behind.
- 5Run a bubble remover down the inside of the jar to release trapped air, then check the headspace again — it usually drops.
- 6Wipe the rim with a clean damp cloth. This is the single highest-value four seconds in the whole process. Anything on the sealing surface prevents a seal.
- 7Place a new flat lid on and screw the band to fingertip tight. Not hard. Air must escape during processing, and an over-tightened band traps it and buckles the lid.
- 8Lower the jars onto the rack in the canner. Water must cover the tops by at least one inch. Add boiling water from a kettle if it does not.
- 9Put the lid on and bring back to a full rolling boil, then start the timer. Timing begins at the boil, not when the jars go in. This is the most common timing mistake.
- 10Keep it at a steady rolling boil for the full time. If it stops boiling, bring it back and start the timing over from the beginning.
- 11Turn the heat off, remove the canner lid, and wait five minutes before lifting the jars. This lets the pressure inside the jars settle and reduces siphoning.
- 12Lift each jar straight up with the jar lifter and set it on a towel, an inch or two apart, out of a draft. Do not tilt them and do not tighten the bands.
- 13Leave them for 12 to 24 hours, untouched. You will hear the lids ping as they seal. Do not press them while they cool.
- 14Check the seals, remove the bands, wash the jars, [label](/jars-and-lids/canning-labels) with contents and date, and store. See how to tell if a jar sealed.
The four moments that decide the outcome
| Moment | What goes wrong | What to do |
|---|---|---|
| Wiping the rim | Food on the sealing surface stops the lid sealing | Clean damp cloth, every jar, every time |
| Headspace | Too little vents food onto the rim; too much leaves air in the jar | Use the recipe's number and measure it, do not eyeball it |
| Band tightness | Over-tightening traps air and buckles lids | Fingertip tight — turn until you meet resistance, then stop |
| Starting the timer | Timing from when the jars go in, not from the boil | Set the timer when the water returns to a full rolling boil |
Why you leave the bands off in storage
Once a jar has sealed, the flat lid is held down by the vacuum inside, not by the band. Leaving bands on in storage can hide a failed seal — a band can hold a lid in place that has actually released, so the jar looks fine on the shelf. Bands also trap moisture against the lid and rust. Take them off, wash them, and reuse them next season.
If a jar does not seal
Within 24 hours you have two choices. Refrigerate it and eat it within a few days, which is what most people do and is perfectly good. Or reprocess it: remove the lid, check the rim for chips, wipe it, fit a new flat lid, and run the full processing time again. Reprocessing costs quality, so for one jar the fridge is usually the better answer.
Next stepHow to check the seals properlyCommon questions
When do I start the processing timer?
How much water should cover the jars?
How tight should the bands be?
Do I need to sterilize the jars first?
Should I turn the jars upside down to help them seal?
Why did liquid come out of my jars?
Sources
Product specifications are taken from each manufacturer’s own published page, cited on the product. We have not handled these products — how we pick.