Canning for beginners
Everything between the produce on your counter and a sealed jar you trust, with nothing left as an exercise for the reader.
To start canning you need three things: a canner that matches your food's acidity, jars with new flat lids, and a tested recipe. High-acid foods like jam, pickles and fruit go in a boiling-water canner. Low-acid foods like beans, corn and meat must go in a pressure canner. Everything else about canning is technique.
Most beginner guides start with the history of preservation. You have peaches going soft, so we will not. This page is the shortest complete path from where you are to a shelf of jars you are confident about, and it assumes you have never done this before and would like to not poison anyone. If you are still deciding what to put in the jars, start with best foods for canning.
First, work out which method your food needs
This is the only decision with real consequences, and it is made by the food, not by you. Foods are sorted by acidity. High-acid foods sit at pH 4.6 or below, and in that environment botulism spores cannot grow into the bacteria that produce toxin. They can be safely processed in a boiling-water canner at 212°F, which handles spoilage organisms and drives the air out of the jar to form a seal.
Low-acid foods sit above pH 4.6, and that protection is simply absent. They must reach about 240°F, which only a pressure canner can do. There is no time-based substitute — boiling water does not get hotter the longer you boil it. South Dakota State University Extension puts the same distinction plainly in its water bathing vs pressure canning guidance.
| Method | Temperature | Foods | What protects the food |
|---|---|---|---|
| Boiling water bath | 212°F | Jam, jelly, pickles, most fruit, acidified tomatoes, salsa from a tested recipe | The food's own acidity |
| Pressure canner | About 240°F | Green beans, corn, carrots, potatoes, plain tomatoes, meat, poultry, fish, stock | The temperature reached under pressure |
What to buy, in order
For a first September the answer is almost always a water bath setup, because a first September is almost always fruit, jam, pickles and tomatoes. A pressure canner is a real purchase and it can wait until you have a reason for it.
- 1A water bath canner with a rack. It needs to be deep enough to keep an inch of briskly boiling water over the tops of your jars, and it needs a rack so jars sit off the base. Our picks: best water bath canners.
- 2A case of jars. Pints in regular mouth is the most useful first case. See best canning jars.
- 3New flat lids. The jars and bands are reusable; the flat lids are not. Buy more than you think. Best canning lids.
- 4A jar lifter. The one tool to buy before the rest. Best jar lifters.
- 5A tested recipe book. Best canning books — a book on the counter is what stops you improvising at the wrong moment.
Before you buy the canner, measure the element you plan to cook on. The NCHFP's rule for an electric range is that the canner should be no more than 4 inches wider in diameter than the element. That one measurement rules out several popular canners, and it is far cheaper to check now than to discover after delivery. Will it fit your stove runs the numbers.
How a first batch actually goes
The sequence below is a water bath batch, which is what you will most likely be doing. It looks longer written down than it feels in a kitchen; the whole thing is about two hours for a first attempt, most of it waiting for water to boil.
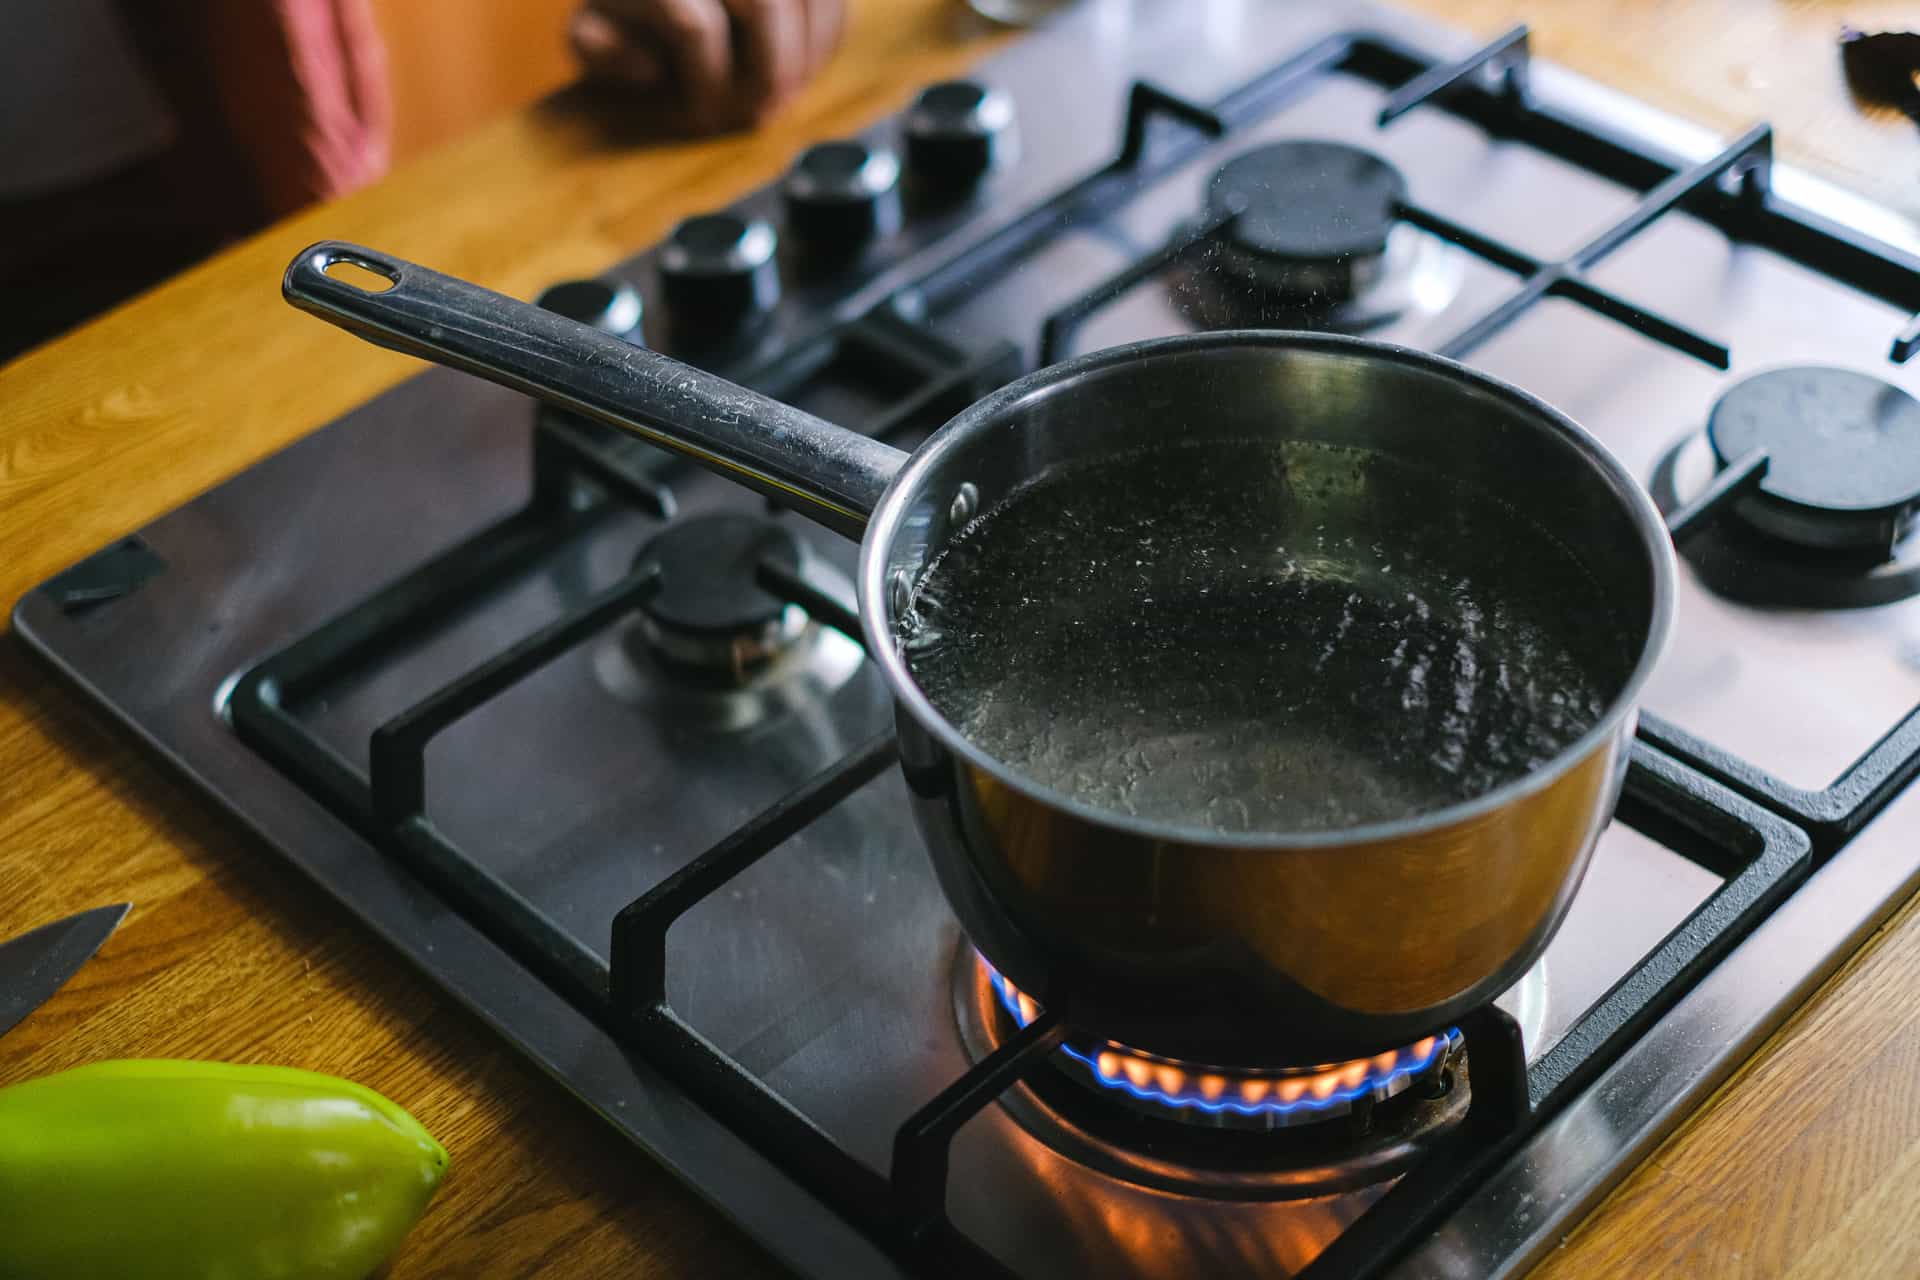
- 1Fill the canner about halfway and start it heating with the lid on. It takes longer than you expect, so it goes on first.
- 2Wash the jars in hot soapy water and keep them hot — in the dishwasher on a heat cycle, or in the canner water. Cold jars crack when filled with hot food.
- 3Make the recipe exactly as written. Do not thicken it, do not reduce the vinegar or lemon juice, do not scale the acid.
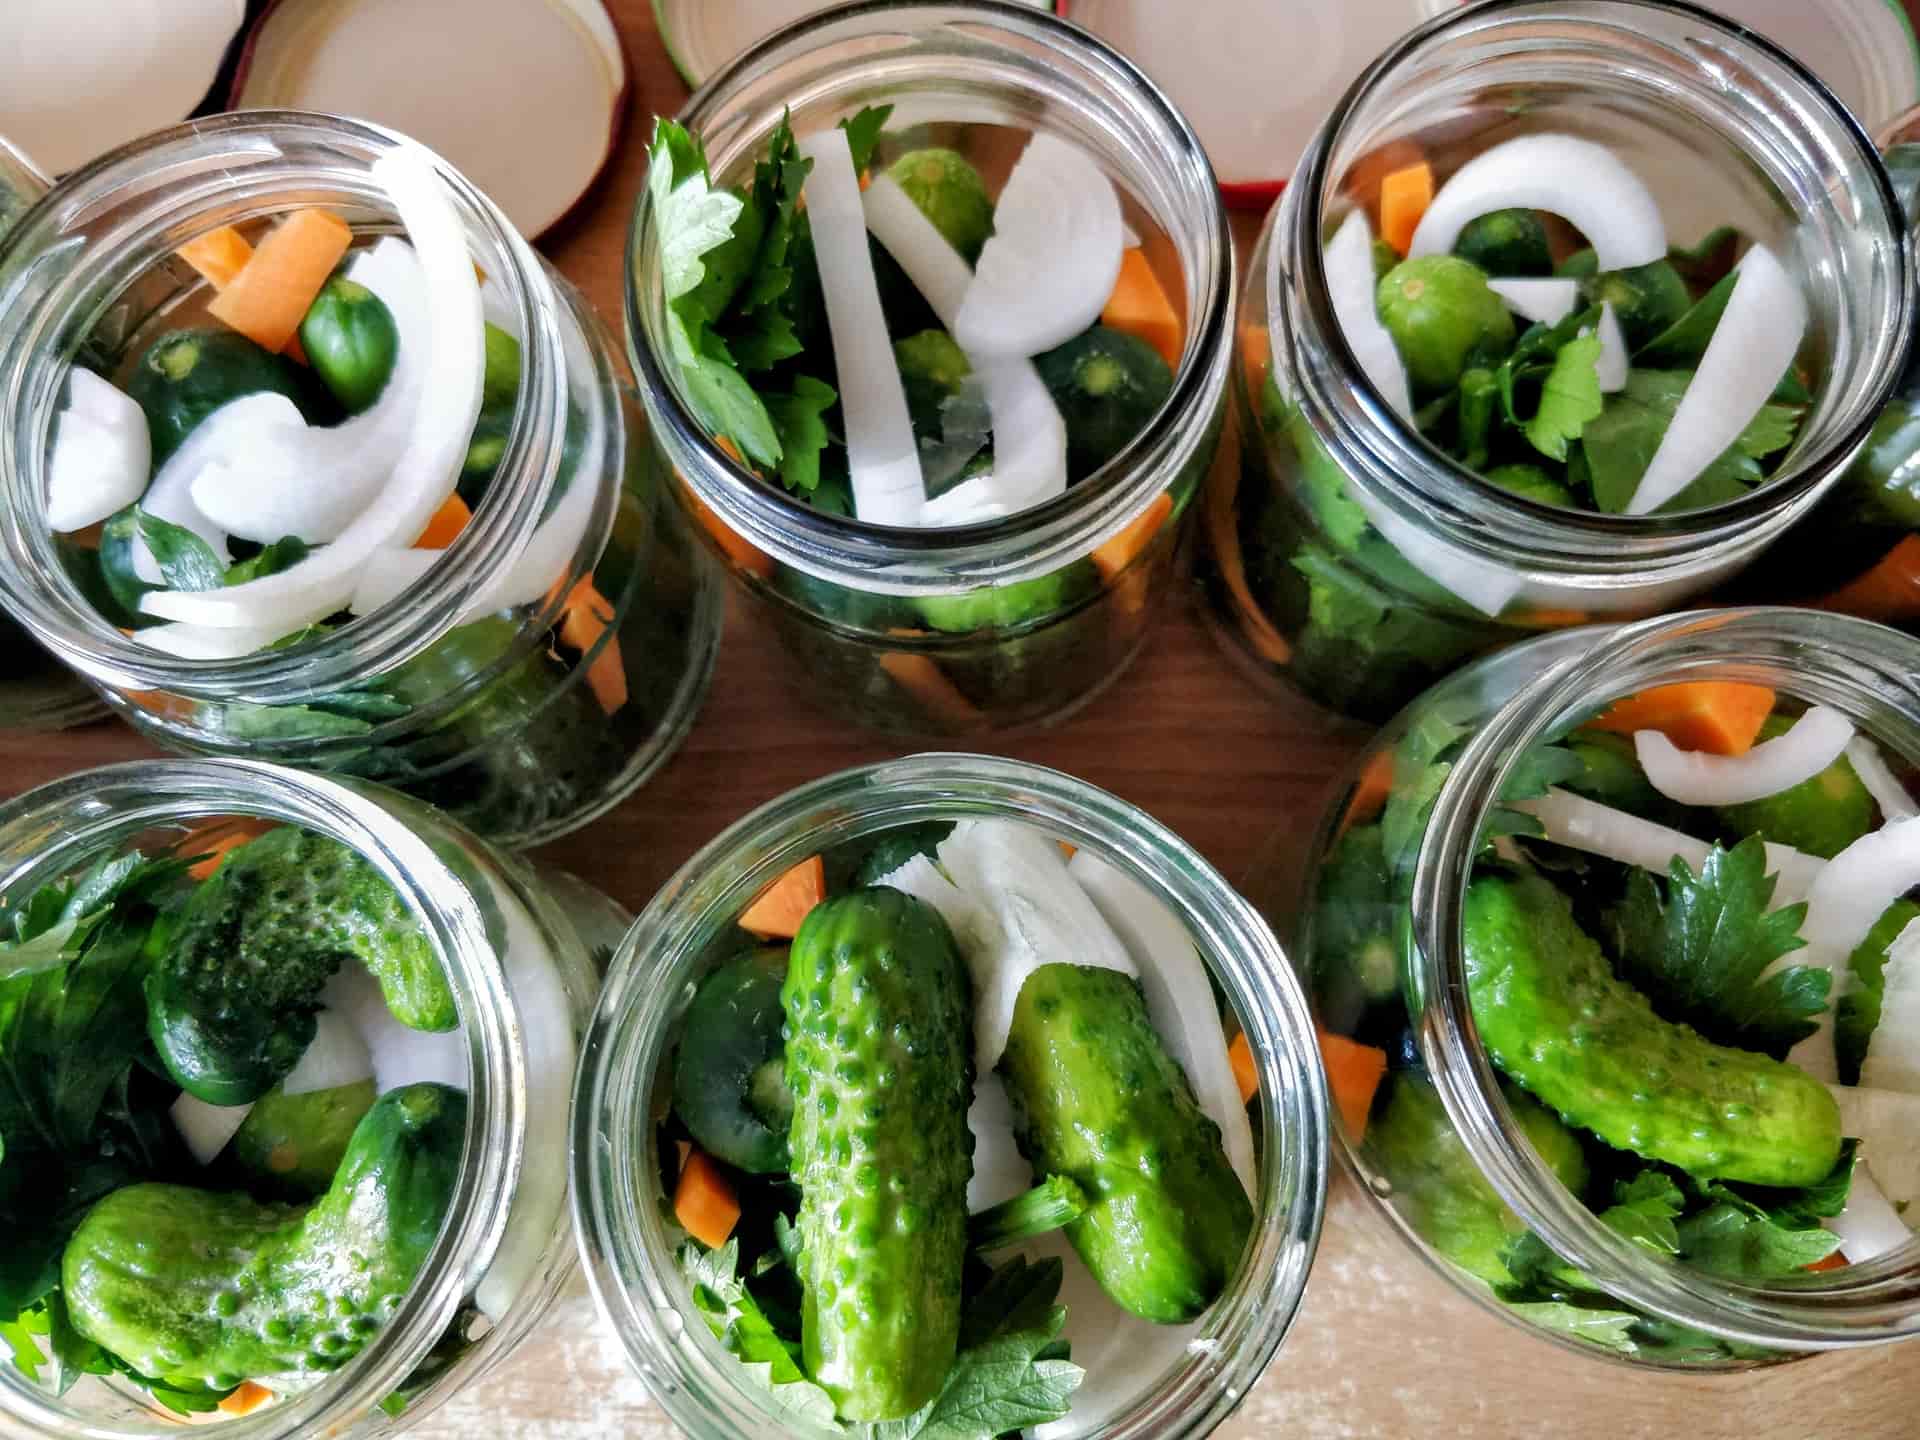
- 4Fill the jars using a funnel, leaving the headspace the recipe specifies. Headspace is not decorative — too little and the jar vents food and fails to seal; too much and air is left in.
- 5Run a bubble remover down the inside of the jar to release trapped air, then re-check the headspace.
- 6Wipe the rim with a clean damp cloth. Anything on the sealing rim — a smear of jam, a seed — is the most common reason a lid will not seal.
- 7Place a new flat lid on, screw the band down to fingertip tight. Not hard. Air has to escape during processing.
- 8Lower the jars into the canner on the rack. Water must cover the tops by at least an inch. Add boiling water if it does not.
- 9Bring back to a full rolling boil, then start the timer. Timing starts at the boil, not when the jars go in.
- 10When the time is up, turn the heat off, remove the lid, and let the jars sit five minutes before lifting them out with the jar lifter.
- 11Set them on a towel with space between them and leave them alone for 12 to 24 hours. Do not press the lids while they cool.
- 12Check each seal, remove the bands, label with contents and date, and store. How to tell if a jar sealed.
The five mistakes that account for most failures
- Reusing flat lids. They may seal and then fail on the shelf. Bands and jars are reusable; the flat lid is a consumable.
- Not wiping the rim. Food on the sealing surface is the leading cause of a failed seal and it takes four seconds to prevent.
- Starting the timer too early. The clock starts at a full rolling boil, not when the jars go in.
- Over-tightening the bands. Air needs to escape during processing. Fingertip tight is the instruction and it means what it says.
- Adapting a recipe. Thickening, halving the vinegar, adding extra vegetables to a salsa — every one of these changes the acidity or the heat penetration the tested time assumes.
How long the jars last
For best quality, use home-canned food within about a year. That is a quality window, not a safety cliff — properly processed and well-sealed jars are safe beyond it, they simply lose color, texture and vitamin content. What matters far more than the date is the seal: a jar whose lid flexes when pressed has not sealed, and it goes in the fridge to be eaten within days, not on a shelf. We go through the quality-versus-safety distinction in is home canning safe.
Where to go next
If you know what you are canning and just want the pot, go to best water bath canners. If you want a shopping list you can take to a store, use the first harvest checklist. And if the thing actually holding you back is the safety question rather than the equipment, is home canning safe is the honest version of that answer.
Next stepWater bath vs pressure canning: which one you needCommon questions
Can I start canning with a pot I already own?
Do I need to sterilize jars first?
What is the easiest thing to can first?
Can I use pasta sauce jars for canning?
Why did my jars not seal?
Is it cheaper than buying jam at a store?
Sources
- National Center for Home Food Preservation
- NCHFP — Recommended Canners
- SDSU Extension — Water Bathing vs Pressure Canning
Product specifications are taken from each manufacturer’s own published page, cited on the product. We have not handled these products — how we pick.